Set up Let's Encrypt certificate
Follow these steps to create and use a Let’s Encrypt certificate:
-
Navigate to Traffic Management, then select Traffic Configuration
-
Create a new Traffic Configuration (HTTP Proxy with TLS disabled)
-
Fill in the required fields in the form, with Port 80 as the Frontend Port. (These are the only fields you are required to fill in at this point).
- Name: The HTTP proxy service name
- Frontend IPv4: Your assigned Threat Protection Anycast IPv4
- Frontend IPv6: Your assigned Threat Protection Anycast IPv6
- Port: The Frontend Port (Port 80)
- Allowed Host Headers: The hostname (SNI) that will be allowed. For example: test.com and www.test.com
-
Select Install
-
Test the Traffic Configuration & Modify the DNS record (see step 3 and 4 in Configure new proxy)
-
In the Threat Protection Portal navigate to Traffic Management, then select Certificate Management
-
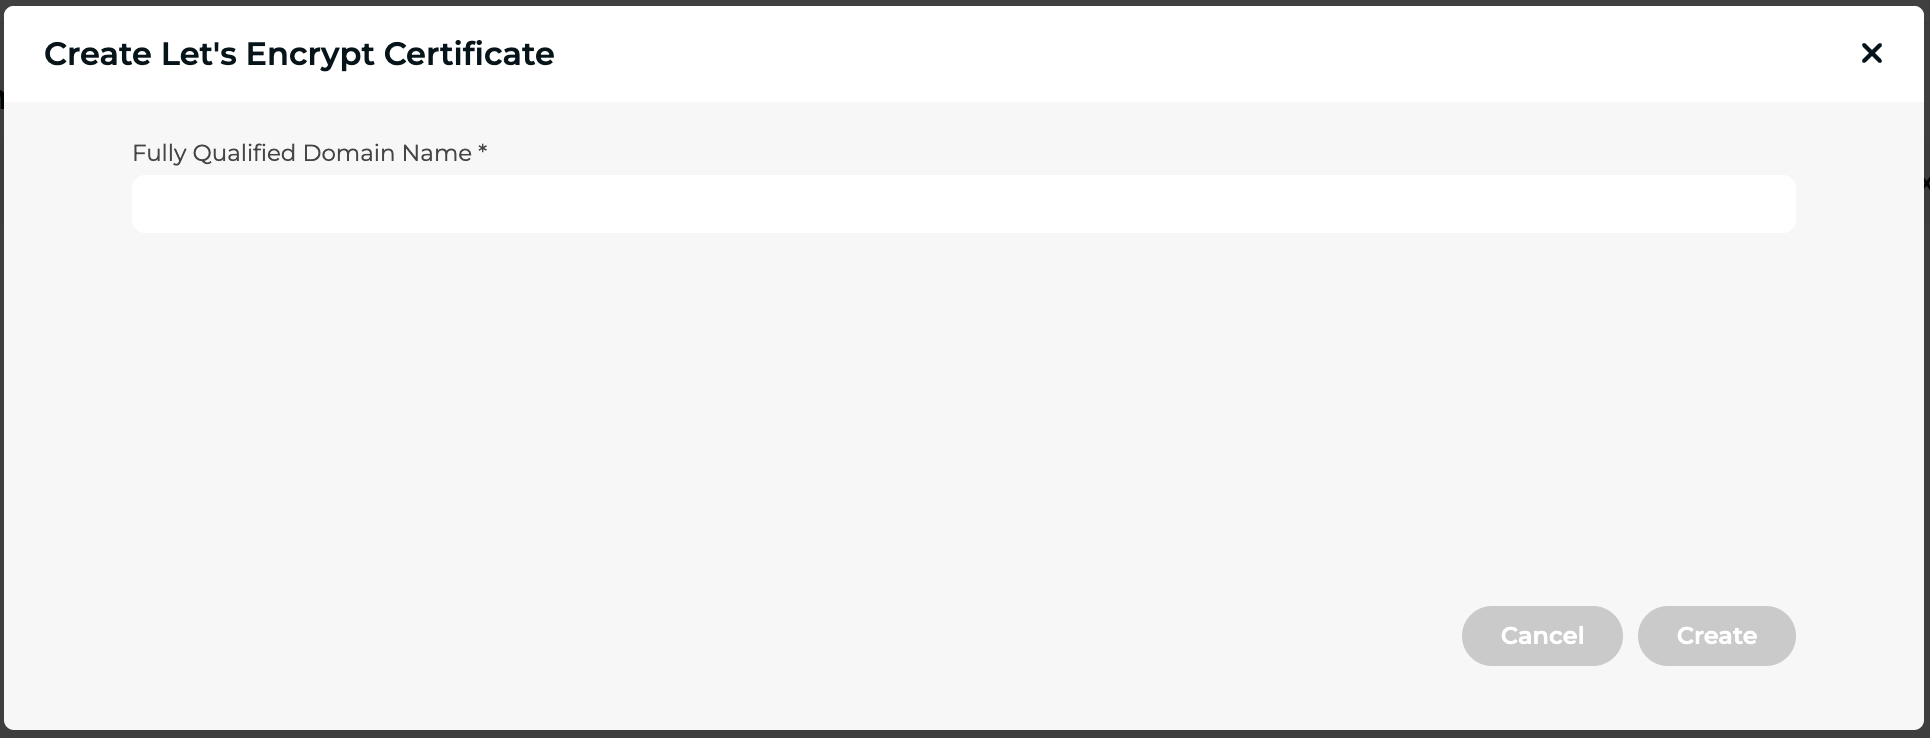
Choose New, then select Let’s Encrypt
-
Fill in your Fully Qualified Domain Name
-
Select Create
-
When the certificate is installed, select to edit the newly created HTTP Proxy, change the Frontend Port to port 443 (from port 80), enable TLS, and use the new Let’s Encrypt certificate (as described in Step 2).