Configure new Routed DSR
There are three steps to configuring a protected asset in Routed DSR mode:
- Set up your Routed DSR
- Test the configuration
- Limit access to the protected asset
NOTE: Lowering the time-to-live (TTL) to 5 minutes or less, as suggested in the prerequisites section, will significantly reduce the time needed for the changes in step 1 to take effect.
Step 1: Create a Routed DSR service
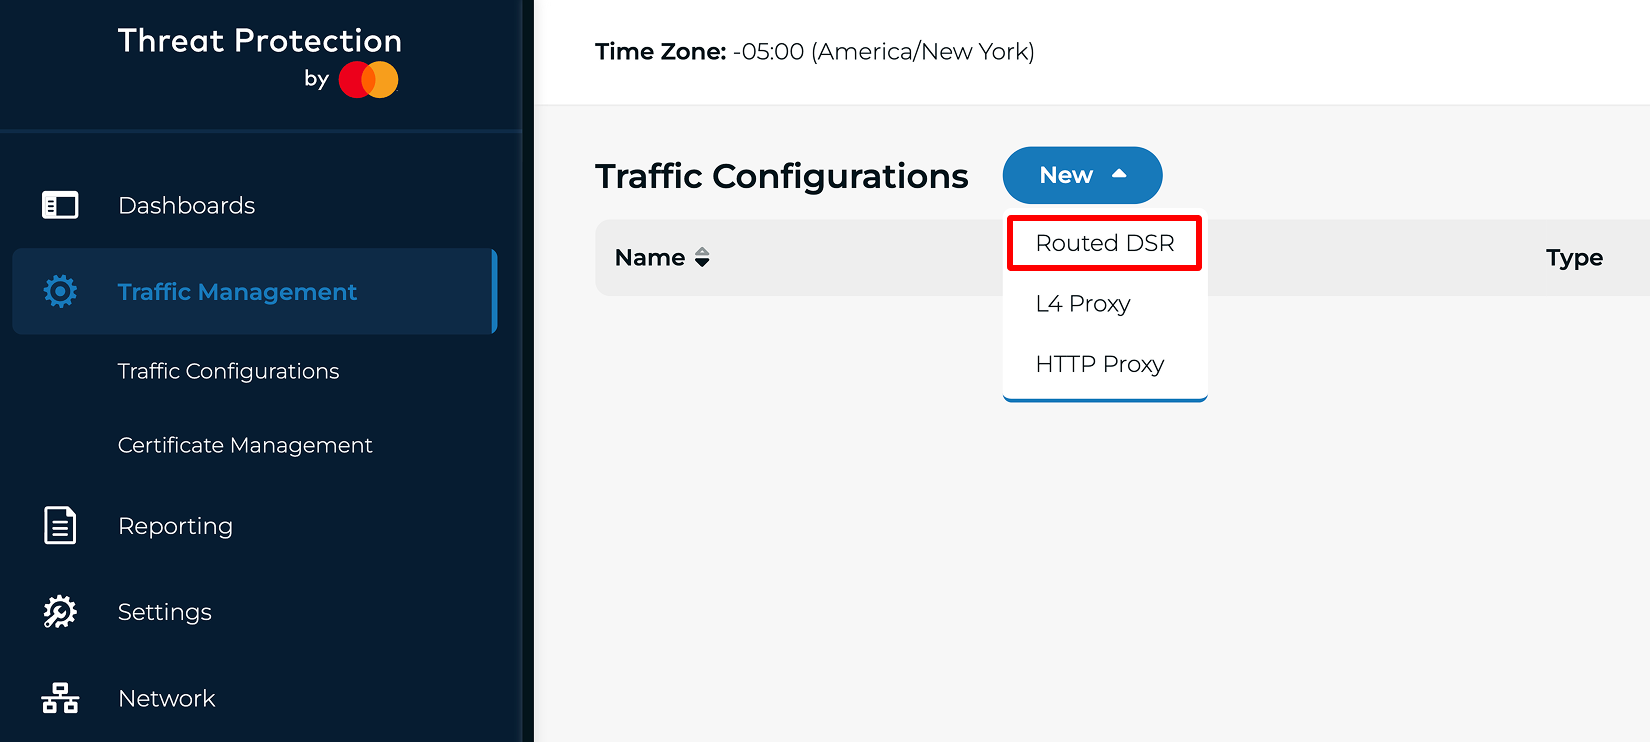
Navigate to Traffic Management -> Traffic Configuration -> New -> Routed DSR
General Settings
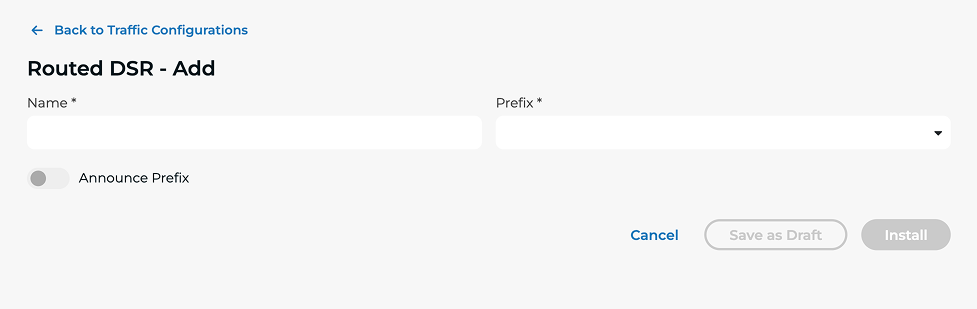
- Name - The display name of the Traffic Configuration (proxy service)
- Prefix - The IP address you’ve chosen to route through Threat protection
- Announce Prefix - Toggle on to announce your network to us using Border Gateway Protocol (BGP). If the toggle is not enabled, we can’t accept or announce the prefix to the internet.
- Install - Once you have configured your settings, click install.
It's recommended that you prepend your prefix to any redundant IPs you advertise the same prefix to.
Step 2: Test the configuration
Test the functionality to ensure your service responds as expected. For example, you can use tools like traceroute or public BGP looking glasses to check that the traffic is routed through us.
If you experience problems, please get in touch with Support.